Homestead in the Holler is a participant in the Amazon Services LLC Associates Program, an affiliate advertising program designed to provide a means for sites to earn advertising fees by advertising and linking to amazon.com.
We’re still working on our straw bale guest cabin. As you probably know, things don’t always go according to plan or go as quickly as you’d like them to go. The bales were stacked and ready for the welded wire in December. Winter is very mild here in southern Missouri, and we thought we could put the lime plaster up before the weather got too cold. But as the night time lows dipped around freezing, we realized that we were just going to have to wait for warmer weather. There always other projects to do around here, so work on the guest cabin slowed to working on it on rainy days. Several other projects took priority and have been completed. Our focus has returned to the guest cabin as we’re nearly ready to get started on our actual house! It’s time to get this cabin done!
What’s Next?
The bales are stacked, there are definite walls and window holes. What’s next? It’s time to start getting ready for the plaster!
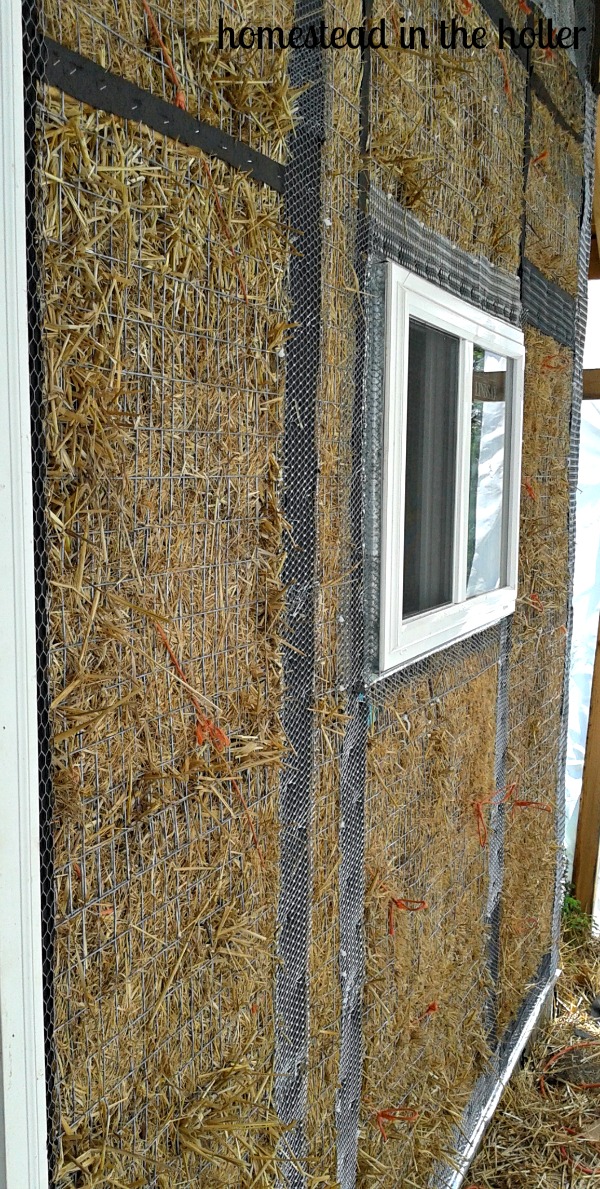
At this point, the bales should give a nice, solid wall. The wood framing that will touch the plaster is covered in tar paper to keep the plaster from adhering to the wood. Otherwise, when the wood shrinks and swells at a different rate than the bales, cracks will develop. Flashing is placed in the window openings as well as outside on the walls. Everything that you can do to prevent moisture from entering the bale walls is essential (really no different from conventional construction).
Electrical lines need to be put in place for outlets, light switches, light fixtures, etc. Wiring the straw bale house is really not that different from a normal stud wall. The only difference is that a channel is made in the straw bales for the wires to be placed in and many code jurisdictions require UF wire rather than the standard NM. It’s best to avoid putting plumbing in straw bale walls, as any moisture will make an ugly situation. This includes sweating around cold water pipes. If plumbing must be in straw bale walls, it is best to place them inside wood boxes that contain any sweating or leaks.
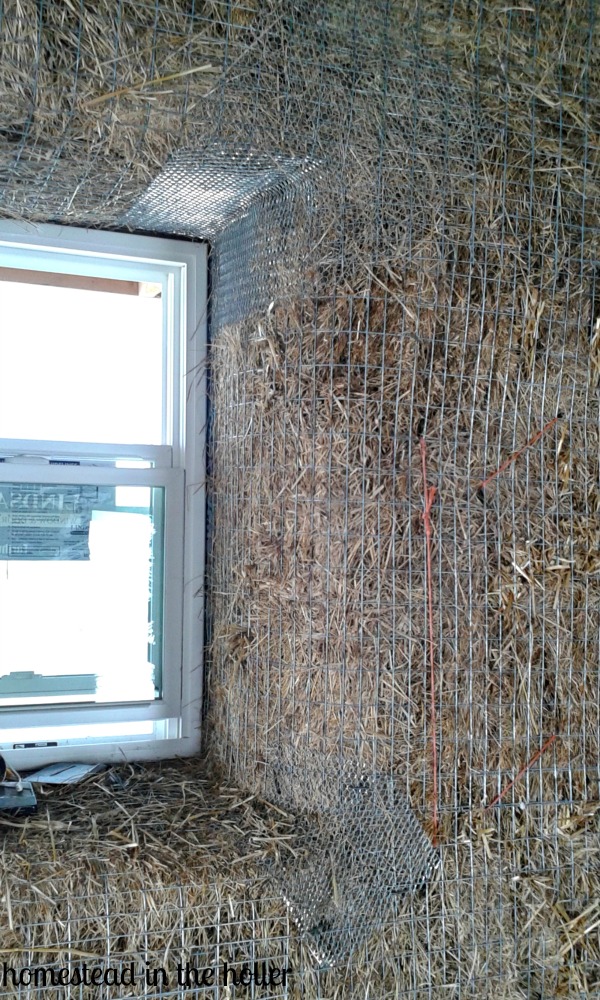
After the electrical lines are run, the walls are ready for welded wire. The welded wire, or wire mesh, adds sheer strength to the structure, so should be fastened very well to the framing. It also gives another surface for the plaster to grab. The welded wire is also what shapes the window openings into the soft, rounded edges that straw bale and cob houses are known for.
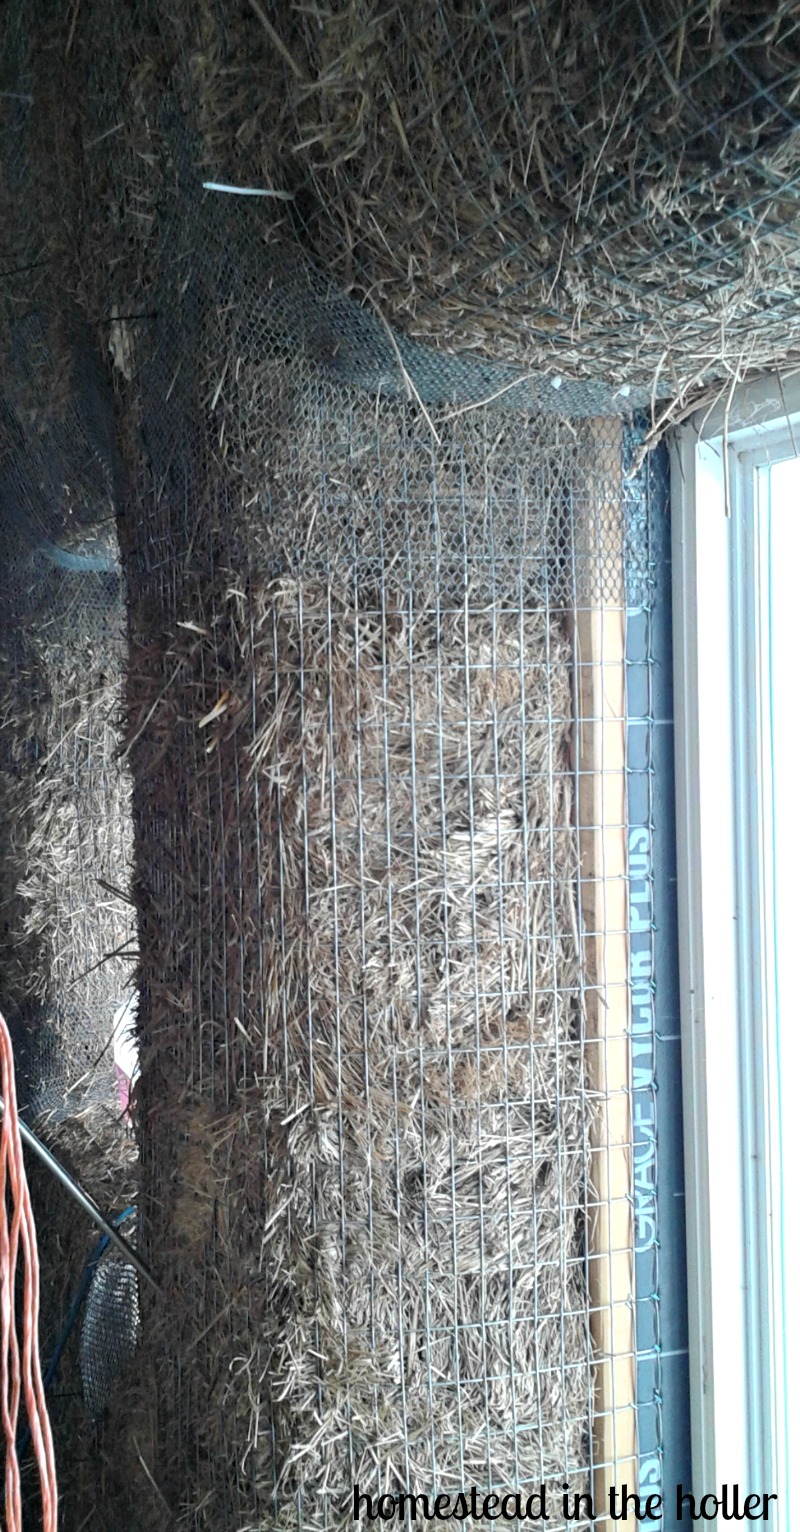
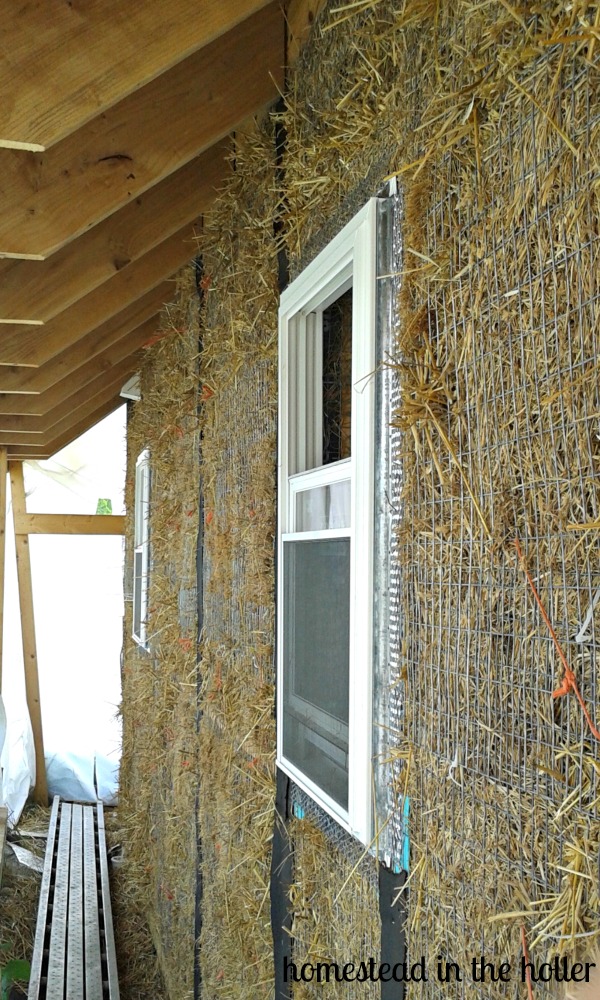
Once the welded wire is hung, a bale needle is used to push twine through the walls. This twine is used to sew the inside and outside wire together. This is done roughly every couple feet all along the walls. Now that the welded wire is secured and the windows are shaped, the windows are installed. It’s really taking shape now! Installing the windows before the welded wire would have been somewhat easier. A lesson learned!
It’s time to look for any low spots or holes in the bale walls. These areas need to be stuffed with some of the loose straw so the welded wire is flush with the bales. This helps reduce plaster use and also helps improve insulation value. Any crevices between the bales are potential air leaks, so should be plugged. Reducing plaster use is important because the plaster is far more expensive than straw. The lime plaster is imported from France and adds up quickly. Even though it’s tedious work, the guys have been going over the walls inside and out and meticulously filling any low spot that they find. This is another lesson learned. Filling these spots should be done as much as possible before the welded wire is installed.
Next up, lime plaster!

Hi! Around here I wear many hats. Homesteader, farmer, homemaker, homeschool mom, gardener and builder. We strive for a simple, self-sufficient life on our little piece of paradise. Read more